How to implement identity verification in an E-commerce website?
As of June 2025th, iDenfy is offering a native Shopify Identity Verification app with an integrated verify button, automating both age and identity verification processes.
To get started with identity verification to onboard customers successfully, we must familiarize ourselves with the critical steps required for the correct Know-Your-Customer procedure:
- The customer’s onboarding journey needs to be monitored. You need to ensure that you distinguish between guest users, registered users, and verified users.
- Assign a verification status next to your customer. This is used to verify processed orders and confirm whether the user has been successfully verified.
- Create additional automation and notify the customer of his verification status. For instance, send an email once the customer has been successfully verified. If he is denied, it is common practice to display additional information, providing concrete steps for retrying verification.
Automate your identity verification
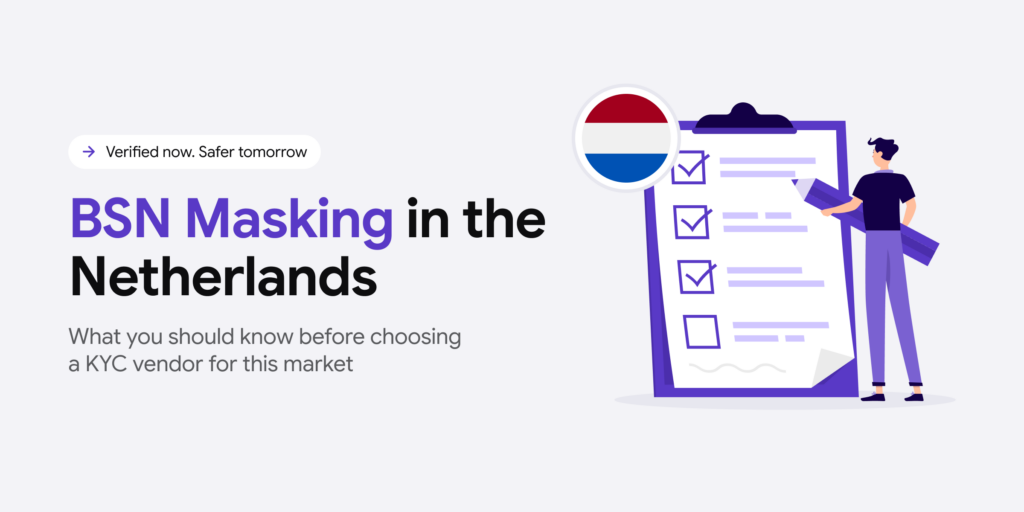
See how iDenfy helps 1,000+ companies verify customers in seconds with AI-powered KYC.
Explore iDenfyHow Zapier automates identity verification
Since Shopify is a platform specifically designed for merchants, it is the ideal solution to have identity verification installed right into your e-commerce store. For that, we will utilize Zapier. Zapier is a workflow automation tool that integrates with over 5,000 other applications. We at iDenfy also published our official plugin – the first first-party solution for identifying customers on Zapier.
Together with the Shopify plugin, iDenfy integration can create powerful workflows that trigger during specific actions from Shopify:
- new orders,
- new paid orders,
- new or updated customers’ data.
Once events are triggered, ID verification or AML checks are initiated. Additionally, you can integrate with other applications of your choice, such as Salesforce or Hubspot.
To initiate the workflow, complete the registration on the Zapier platform and start a new project by connecting the Shopify app to iDenfy.

Related: How to Securely Implement Data Migration For Your Business
Integrate identity verification with 3 steps
The first step is to create an identity verification request once the customer is created in Shopify. For that, Zapier triggers are the perfect solution, as they automatically detect new account creations. Once detected, Zapier will use our API to create verification tokens. The generated API token appended to the redirection URL needs to be delivered to the client. We can use any email provider; in this case, Gmail.
Here you can automatically integrate this Zap.

Related: The Role of Identity Verification in Retail and E-Commerce
The second step is to set up another Zap, solely responsible for using the verification status to update customer data directly in Shopify. For this, we will create two separate paths: one for approved and one for denied verifications. The Zap triggers once a new verification is initialized. Then, once verification is finished, we check the verification status to determine the next pathway. If the verification status is approved, we update the customer; otherwise, we ask the user to retry by sending a new email.

Below you can see the workflow of approved verification. We are using the customer’s email address to locate them in Shopify. Once found, we assign a custom tag with verification status. The naming logic is entirely up to your style, but for the sake of simplicity, we’ll add a happen after iDenfy, thus resulting in the following tag – “idenfy-APPROVED”.

Unfortunately, Zapier does not currently allow sharing Zaps, which include pathways. Please review the attached images carefully, and if any questions arise during the integration, our support team will be happy to assist you.
To finalize the integration, we’ll create a final Zap that acts as the new orders watcher. This Zap will wait for a new order in Shopify. Once the order occurs, the customer’s custom tag, set by the second Zap, is verified. If verification is APPROVED, the order should be treated as a valid one. Currently, Zapier does not allow direct modification of the order, such as marking it as canceled. Considering that, we suggest sending an email either to yourself or filling in the data in your database.
Once you have the data stored, you can use it to validate the customer during the order fulfillment stage.


Related: 10 Tips for Successful Identity Verification with iDenfy
Going further with your antifraud automation
Now that you have successfully integrated an identity verification solution for your e-commerce site, you can explore other antifraud tools we offer. Those include proxy verification and proof of address verification.
For e-commerce startups, it is indeed common to use fraudulent addresses during registration. This is often done to conceal the identity or to use an intermediate party for receiving the order. For that, we offer address verification, which verifies that the address is legitimate and provides a risk level of fraud estimate.
Another safeguard is IP address verification. Fraudsters are usually aware of IP address relevancy in tracking whereabouts. They utilize different proxy solutions or VPNs to conceal their true identity. We cover the most common proxy types in our IP proxy guide. Once the IP address check is configured, it will be checked automatically after identity verification completion, and the risk status will be displayed next to it.
Contact us to learn more about our Zapier integration. If you have any additional requests, feel free to reach out!